Are you interested in setting up an online store for your amazing products but have held back because you don’t know how? After all, there are so many professional looking eCommerce sites out there, how can you compete with them?
The good news we can share with you today is that by using a combination of WordPress, an eCommerce WordPress theme and the WooCommerce plugin (or similar) you will be able to create an eCommerce store every bit as stunning as many of the ones you come across on Google.
HERE IS OUR STEP-BY-STEP GUIDE TO CREATE AN ECOMMERCE WEBSITE WITH WORDPRESS?
1. Sort out a domain name and website hosting
This first step will cost you a little bit of money. But don’t worry, you can get a domain name and high quality hosting for a budget price.
First, you will need to have somewhere to store or ‘host’ your website files. This is the job of the webhost and companies worth comparing include Bluehost, and NameCheap. Both offers very affordable WordPress hosting and includes a version of cPanel, a popular user friendly hosting manager.
You also need to purchase a website domain and this service is provided by registrars such as GoDaddy (them again), Hover, Dynadot, Google Domains and Namecheap. We have been using Namecheap to register all of our domain names and
You then need to connect the two together by adding your domain name into the add on domains field in your hosting cPanel, making a note of the name servers and adding these into the relevant fields on your domain name admin page (your webhost will be happy to help if you struggle with this).
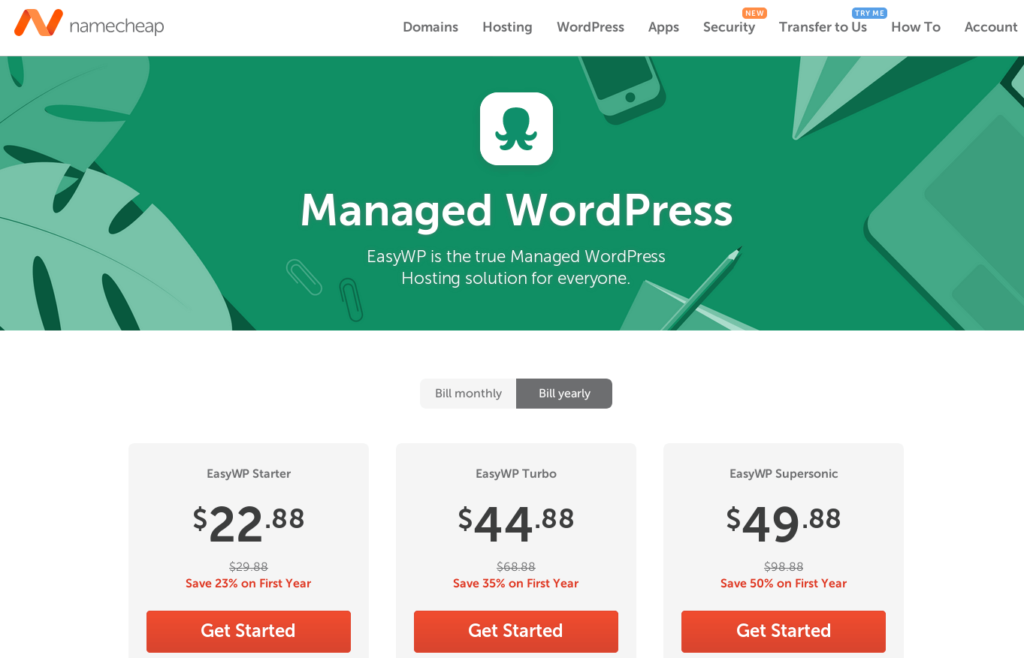
EasyWP by NameCheap
NameCheap makes it very simple and easy to host any type of small and large scale website with it’s own Managed WordPress Hosting Service, EasyWP. Plans are starting from s low as $23/year. You can also register and manage multiple domain names with EasyWP.
If you will start with EASYWP, You will have have to register the domain name separately, EASYWP is affordable but you won’t get premium themes, plugins and other features.
WordPress.com Hosting Plans
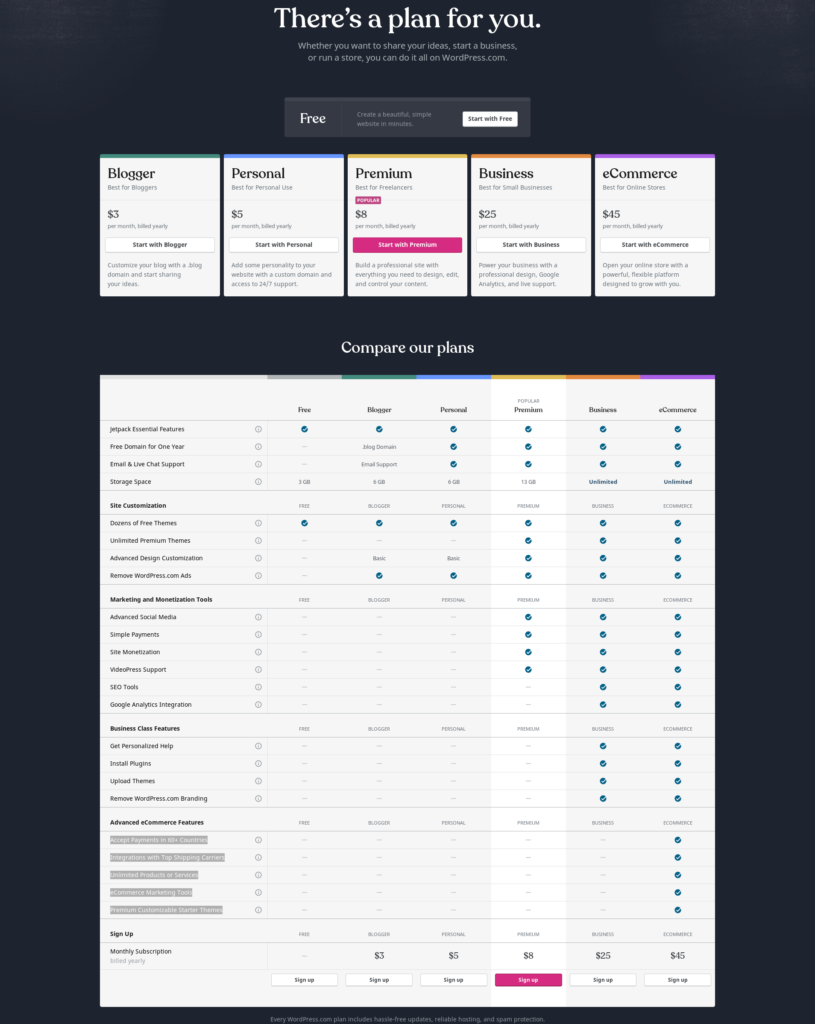
If you want to start selling hundreds of products and don’t want to waste time on finding different plugins, themes etc, Go with WordPress.com Hosting Plans.
The WordPress.com eCommerce plan seems a bit expensive but actually it is much affordable than others. because with WordPress.com’s dedicated eCommerce plan, you get dozens of premium plugins, themes, features and dedicated 1-on-1 tech support.
WordPress.com’ Advanced eCommerce Features includes:
- Accept Payments in 60+ Countries
- Integrations with Top Shipping Carriers
- Unlimited Products or Services
- eCommerce Marketing Tools
- Premium Customizable Starter Themes
2. Install and Setup WordPress

If you will choose NameCheap or WordPress.com to host your websites, You just need to create your account to start managing your WordPress website, because WordPress is already installed there.
If you are going to choose any other hosting service, You need to install WordPress using their control panel. It is estimated that 34% of all websites are built using the WordPress so you will be in good company by following this route.
Using cpanel makes installing WordPress a breeze. The interface may vary but you will probably immediately see a WordPress icon. Click this, select the domain name you registered, type in the required information (provide an email contact, select a username and password, etc.) and hit install.
Within a few seconds you will receive an email with your log on credentials. Keep these safe as they will allow you access to the WordPress admin dashboard. This is where the magic happens!
3. Track down and install an eCommerce WordPress theme
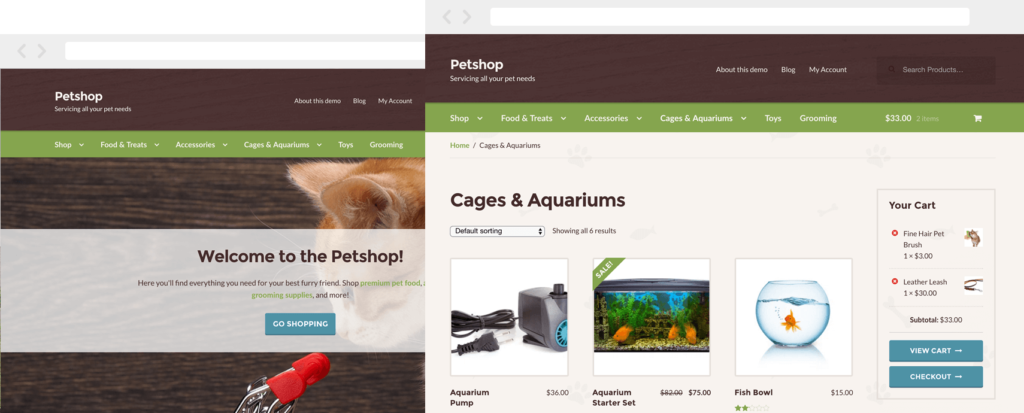
It is now worth spending some time finding an eCommerce theme which will convert your standard WordPress website into a fully functional eCommerce store. You will probably need a premium WordPress theme to get all the features you need. However, if you’re lucky, you might find a good quality free WordPress theme.
How do you know a theme is eCommerce-ready? After all, there are thousands of multipurpose WordPress theme options out there. Well, in the same way as you can find customized health, construction, law and real estate WordPress themes you can also track down WordPress ecommerce themes. Hundreds of professional WordPress ECommerce Themes are which uses WooCommerce as this is a well known plugin for eCommerce conversion.
You can install themes directly from the WordPress dashboard, If you purchase a premium theme, You can upload it by going to the theme page under the ‘Appearance’ menu, clicking ‘Add New,’ then ‘Upload Theme’ before navigating to the .zip file you just saved.
4. Install WooCommerce Plugin
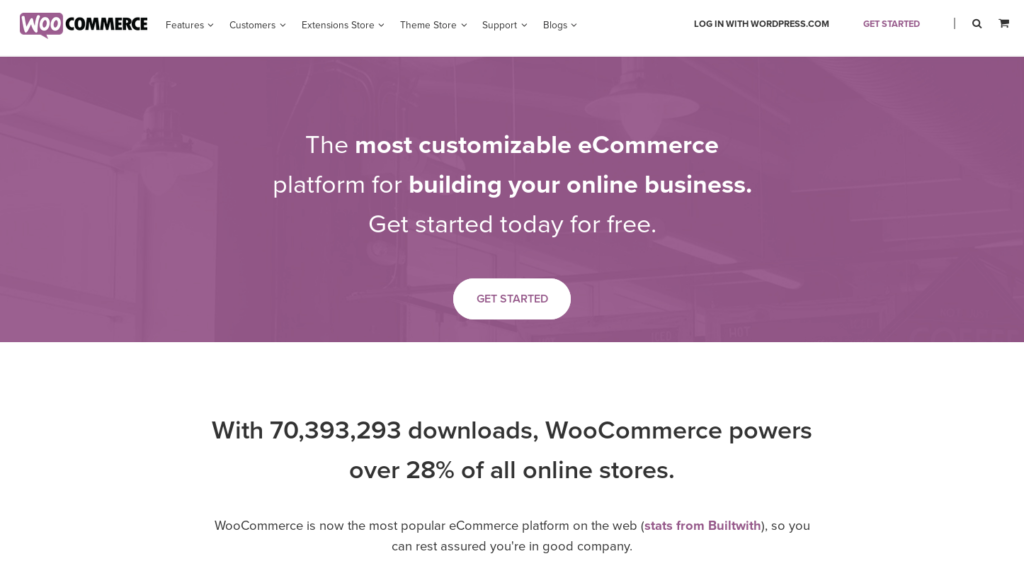
Depending on the theme you choose, there will be a number of recommended plugins. These may be included in the package or you may need to source them separately. WooCommerce is a well-known plug-in designed to transform the function of your website into an eCommerce store.
WooCommerce powers over 28% of all online stores.
WooCommerce and many other eCommerce plugins can be located and installed straight from the plugins menu on the WordPress dashboard. Others can be downloaded to your computer, compressed and uploaded via the WordPress dashboard in the same way as themes.
WooCommerce Extensions are also available to customize your store further. Facebook, Booking, PayPal, Amazon, Square, Stripe, Checkout, Membership, and Invoice extensions are very popular for WooCommerce stores.
5. Install demo content
Some themes will automatically include demo content. Otherwise, If you want to see your new eCommerce site looking the same as the theme example, you will need to download the demo content from the theme.
This will be delivered as a .zip file which you will have to extract locally on to your computer to isolate the .xml file. You will then need to go to the WordPress ‘Import’ page (under the ‘Tools’ menu), install, activate and run the WordPress importer and upload the .xml file from your computer.
Please note that some of the images from the demo may be substituted for watermarked alternatives for copyright purposes.
6. Create skeleton pages

It is now time to create some pages to populate later. You will already find a ‘Home’ page and possibly a ‘Posts’ and ‘Products’ page too. Other pages you might want to add include:
- About
- Wishlist
- Contact
- Cart
- Checkout
- FAQs
- My Account
- Privacy Policy
- Terms & Conditions
7. Create a logo
If you haven’t got a logo for your eCommerce store, now is a good time to create one. If you are a whizz at Photoshop or Illustrator you can create your own with these amazing programs.
If not, logomakr.com is a simple to use alternative featuring millions of elements you can combine into a unique logo. Alternatively, commission a designer for this task.
Fiver is great place to find top quality, hand-picked professionals, logo designers trusted by the world’s biggest brands.
When you have a .png or .jpg file with your logo design, go back to the WordPress dashboard.
8. Adjust theme settings
You will find a lot of scope for customization in your eCommerce settings menu. Go through each in turn, including:
- Upload your logo for your site identity icon and to place on your site header
- Lay out your menu for effortless navigation
- Change the header size, color and transparency. Make it sticky if you want.
- Add a wishlist
- Edit your shopping cart
- Include a search box
- Add and customize a top bar
- Include social media icons
- Choose a blog layout
- Set up product options (zoom, show related, reviews, etc.)
9. Set permalink structure
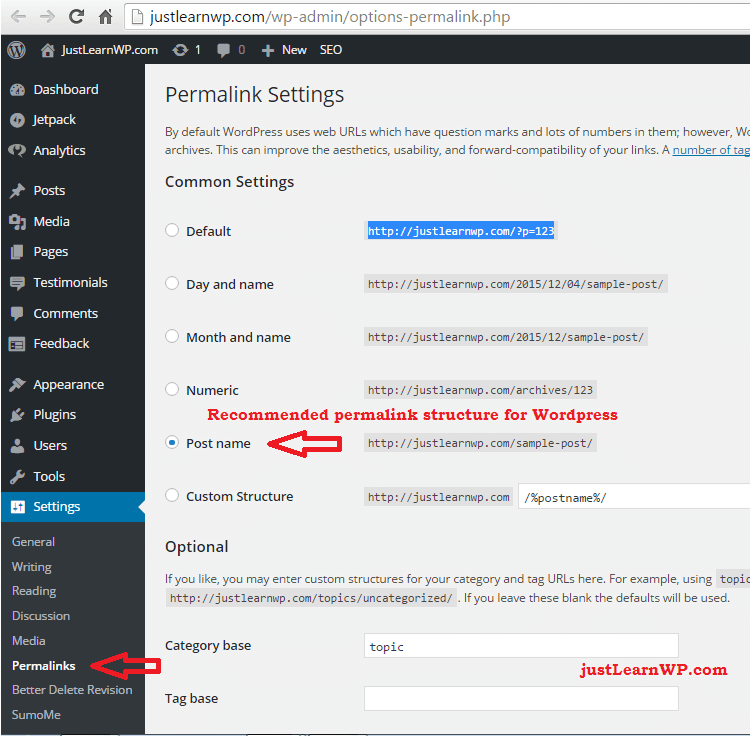
An important step for SEO is to choose a permalink structure (under the ‘Settings’ menu). ‘Post name’ is a popular option and you can even design your own custom structure. Anything is better than the default ‘Plain’ option though.
10. Customize your home page
Go to your home page and edit it to get the look you want. For example, you should choose a full width layout in the template drop-down, hide the page title and place ‘featured product’ and ‘CTAs’ in relevant places.
11. Set up your products page
If the theme hasn’t already created a products page, you will have to set one up. Next, your products catalog will need to be linked to that specific page. You can do this from your eCommerce settings, selecting the appropriate page from a list. You can also set up the look of your products page (and other pages) as you did the home page.
12. Add products
Almost there! No eCommerce site is complete without products. You can add these using WooCommerce (or the alternative used in your theme). You will have the option to add a title and description as in a standard WordPress post.
You can also add categories to correspond to product types and select the type of product (e.g. simple, grouped, virtual, etc.), add standard and sales prices and more. Inventory can be managed by enabling stock management in the Products Inventory Settings.
FINAL THOUGHTS
All eCommerce themes have subtle differences so you may find the set-up process is slightly different from our step-by-step guide above. However, if you use a theme that is integrated with the WooCommerce plugin, you should have no problems creating your first eCommerce store.

